
For this blouse to go beneath the jacket we were originally going to do a raglan pattern, but due to time constraints it was simplified to a kimono skirt.
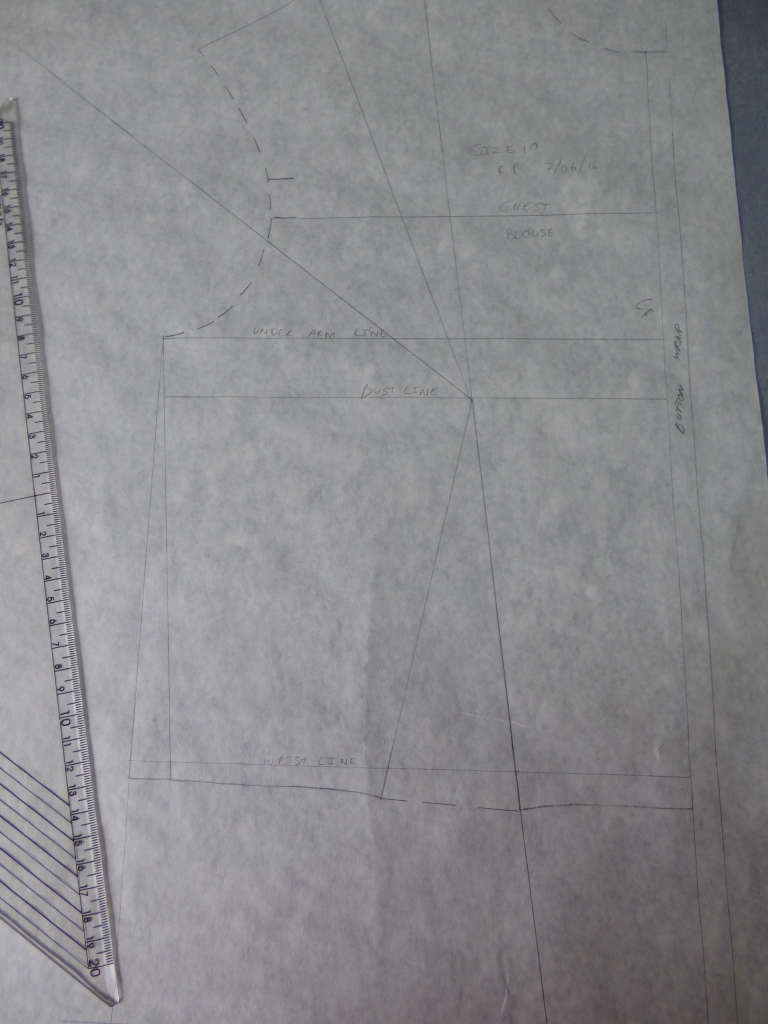
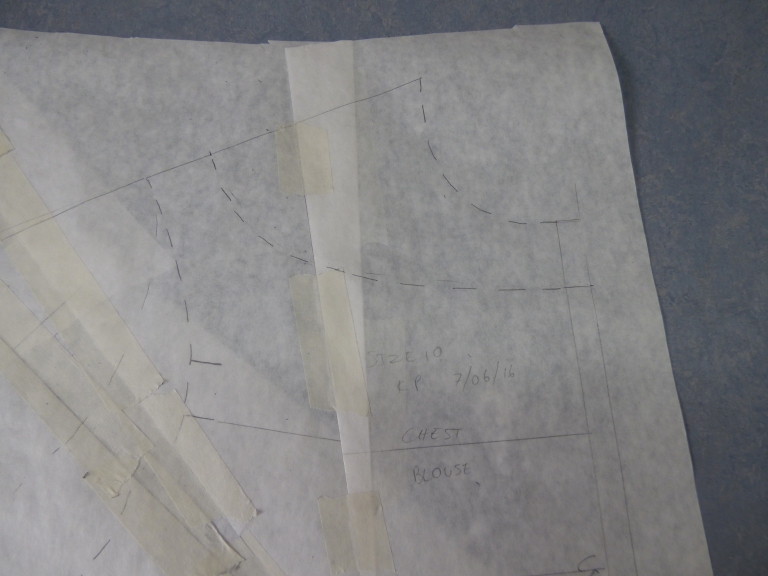
The first step was to trace off the front and back of the basic bodice block on to new pieces of pattern paper


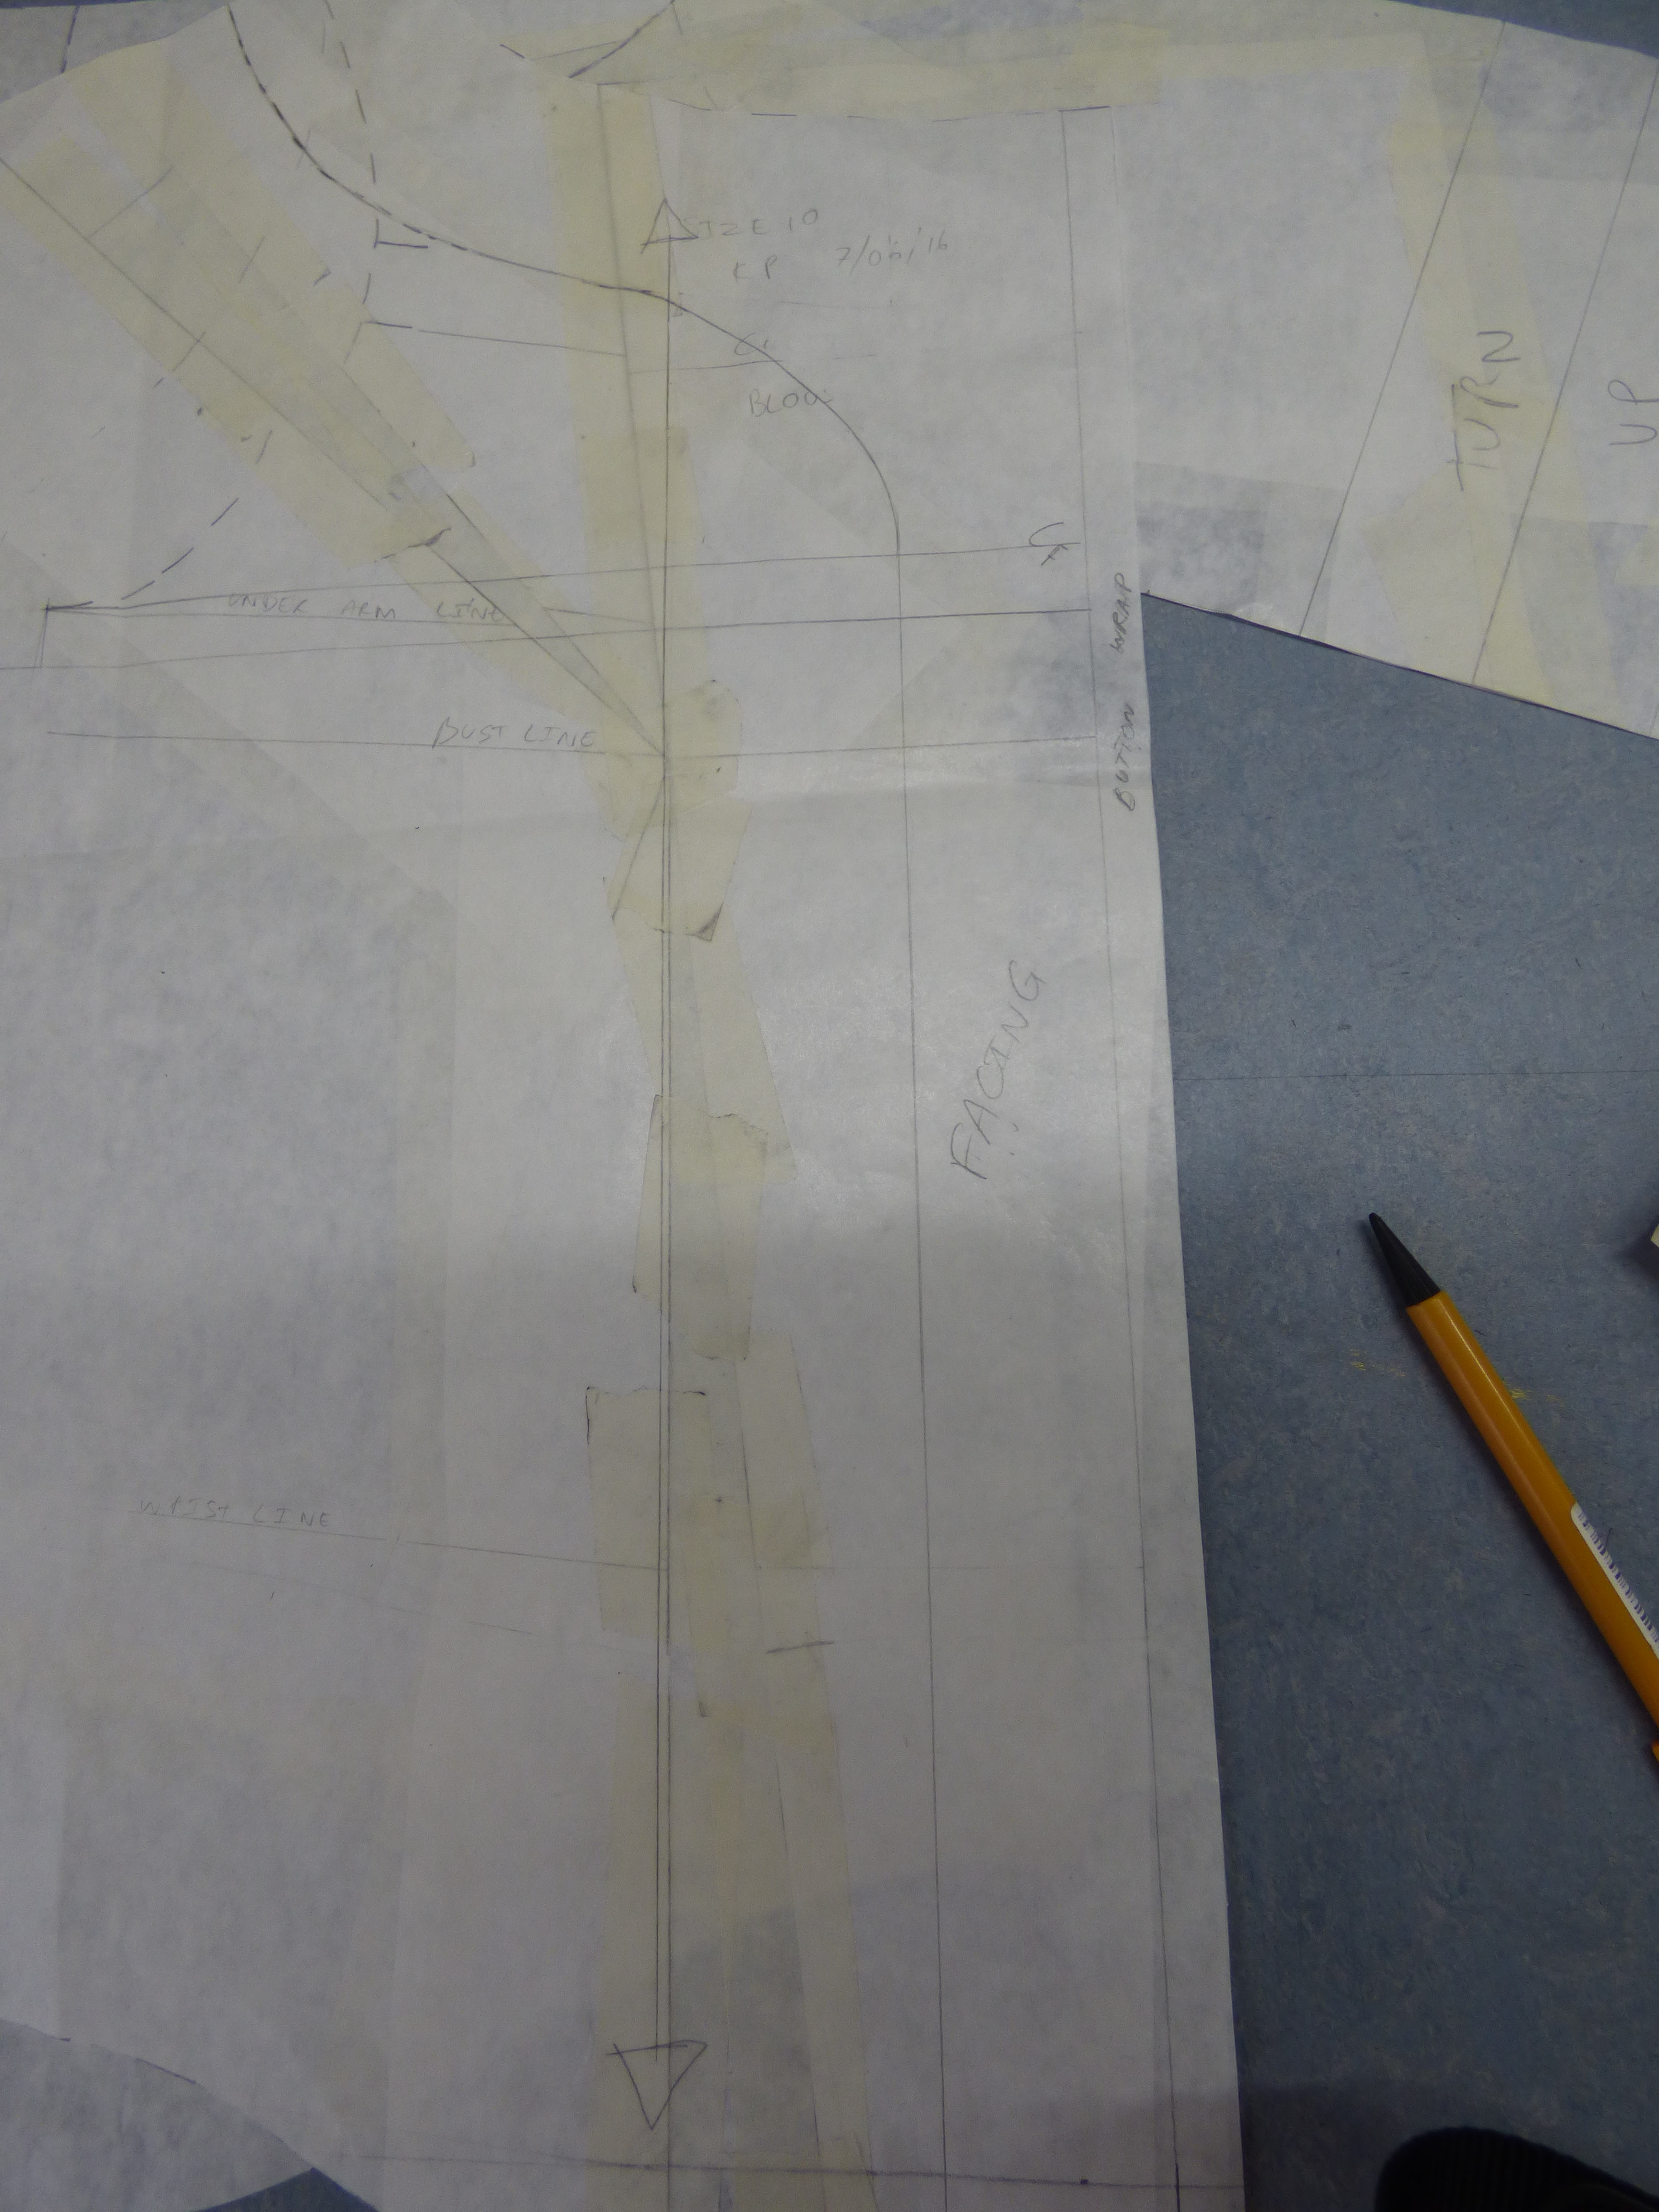
The pattern editing began with adding a 1 cm button wrap on to the centre front and centre back of the pattern. On a loose fitting shirt it is possible to not need to do this, at all, as it could be simply slipped over the head, op buttoned up down just the front or just the back. However as we are working in pairs and we will only individually be working on one side of the pattern we need a way of joining the two pieces together, i.e. buttons and buttons holes down both the front and back of the blouse.


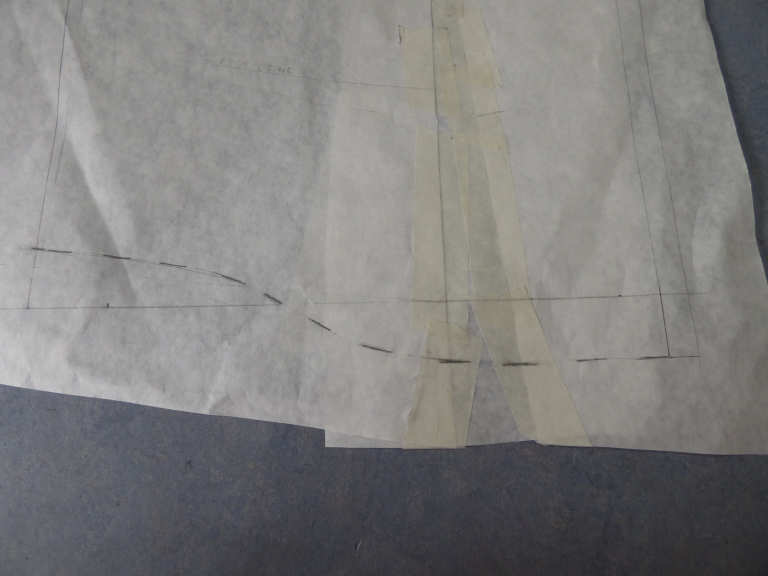
From the original waist line, extend the bottom straight down for 10 cm, at both the front and the back.


On the front pattern piece draw a line that extends from the bust point and through the arm hole.
Now cut up one edge of the bottom dart that has been extended to the bottom of the lower shirt pattern, and them cut in to the new line drawn in to the shoulder dart.
In this process fold out the shoulder dart so that it closes off and the dart is distributed evenly in to the two new openings.
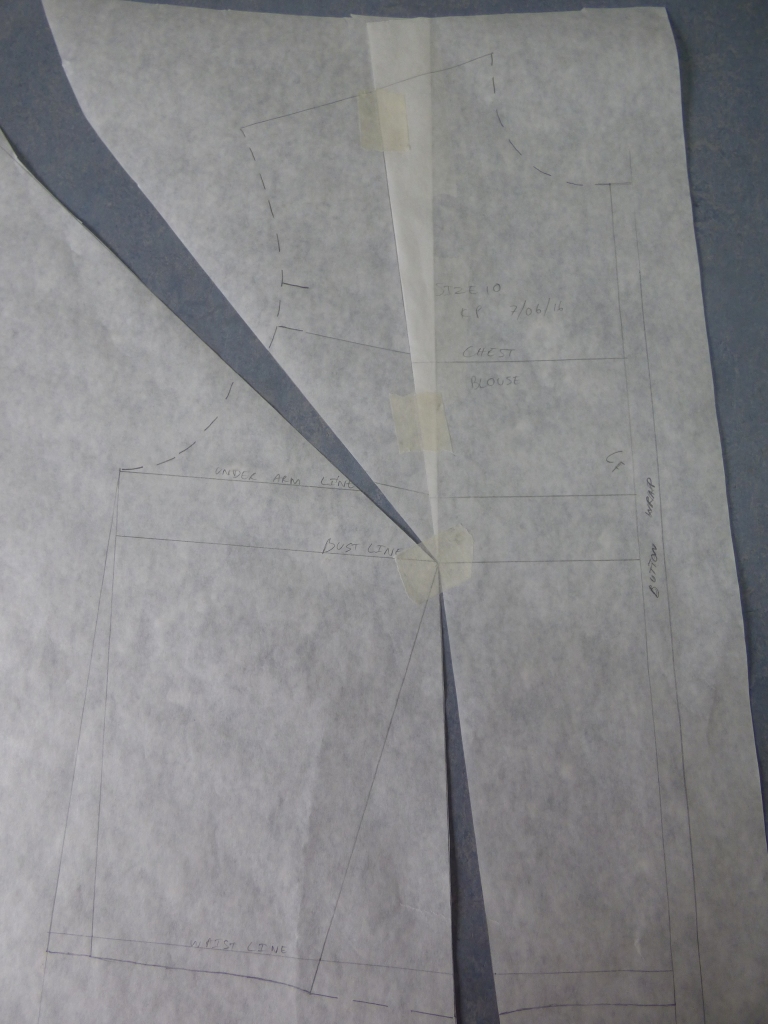
Masking tape these in to place, putting more pattern paper behind the pattern to close off the darts.
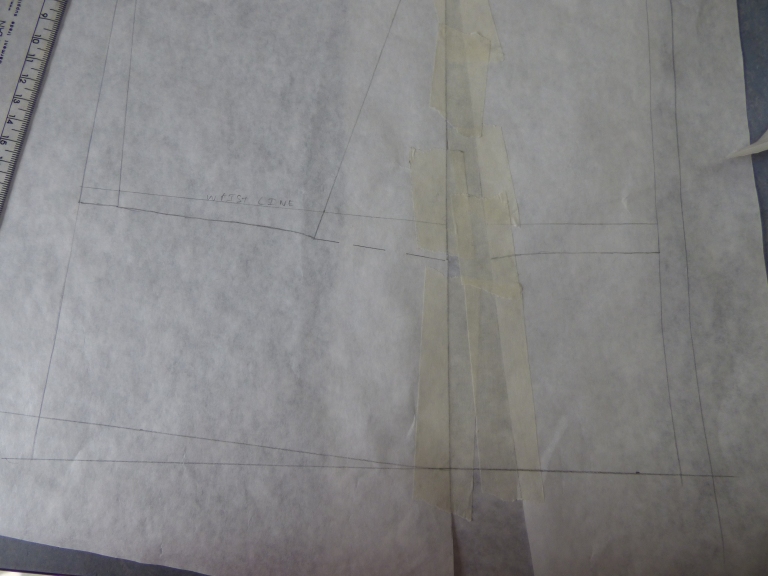
From here as the waist line as be bent out of shape, re form the straight line at is the bottom of the shirt, drawing it at a right angle to the centre front line
Next draft off the sleeve block pattern and cut this out, folding it in half once it is cut out.
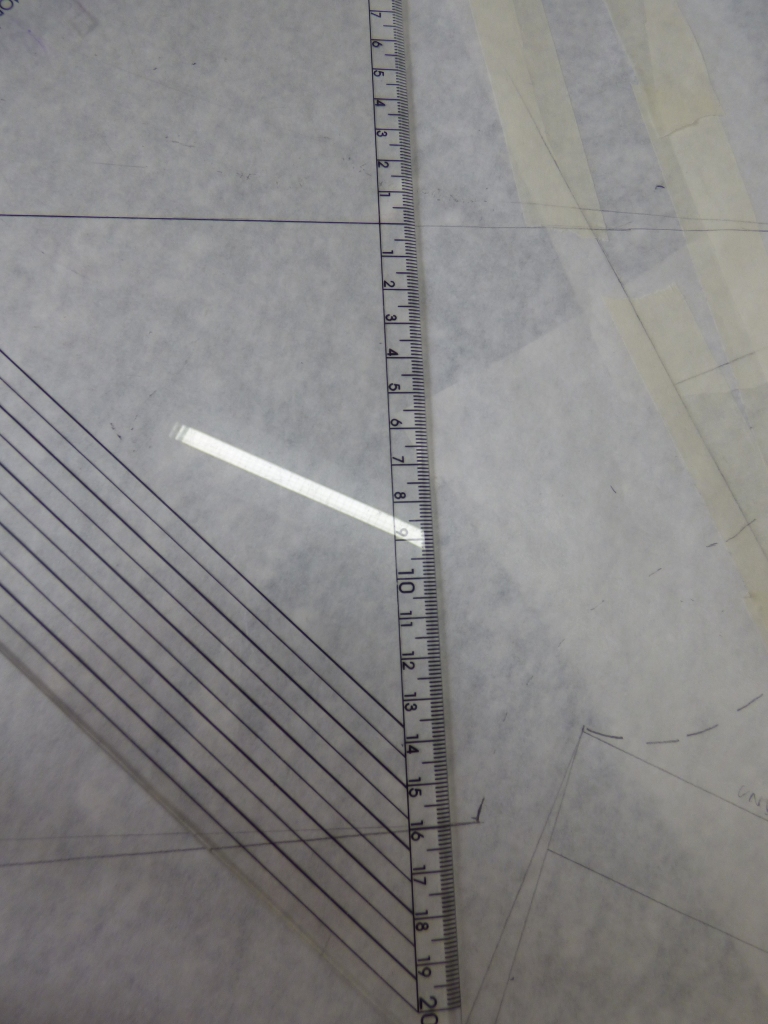
Using a long ruler lay it straight across the shoulder. The place the top of the sleeve block against the top of the arm hole.
Now angle the sleeve-keeping the tops in place- so that it sits at a nice curved angle to the arm hole. In out case we moved it so that the wrist point was 4 cm from the original ruler line. Once this has been established the sleeve block is roughly sketched around.


The next task was to square off the sleeve, making all of the sleeve the same width.
We decided on the length of the sleeve being 20 cm and drew this mark from the top of the arm hole. From the bottom of the sleeve a turn up was added, two lines at 3.5 cm from the bottom of the sleeve and a final line at 2 cm from these lines.


Then the chest width was measured and bottom of the skirt if made 2 cm longer at the side seam than the chest width. this will encourage the shirt to flare out and make it loose on the body. Also with this the sleeve is connected to the side seam by by a small curved line.


Then a boat neckline is drafted on the front bodice, a lot of this is artistic interpretation and eyeballing the correct pattern.
The front bodice is finished off with bottom front being lowered and the side seam being lifted up slightly, to create a nice shape.
Then similar steps are repeated on the back pattern piece.


At this point it is good to lay the two pattern pieces over each other to check that the sleeve lengths match up.
the bottom line is elongated like before, and a curve is used to connect the side seam to the sleeve. Here you would check that the two curves match each other.


Like at the front, the back is dropped and the side seam lifted, then you can check that the side seams match up, and create a nice smooth curve around the body.

Finally the back neck line to re drafted to a nicer smooth curve around the neck line, and the pieces are finished.
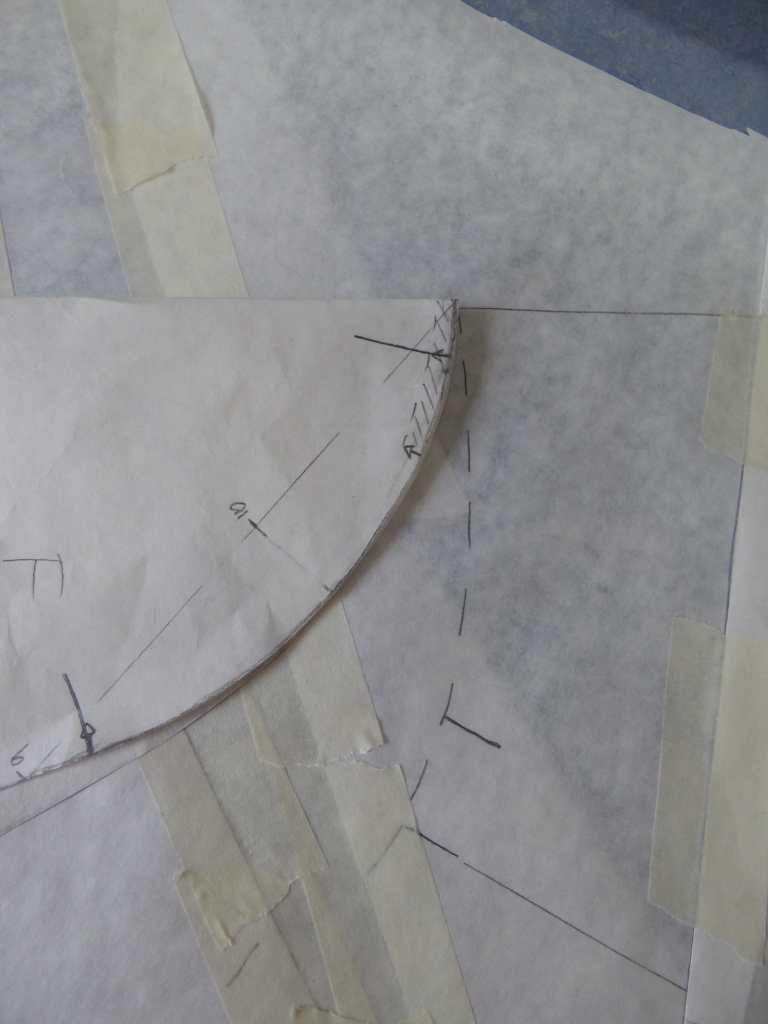
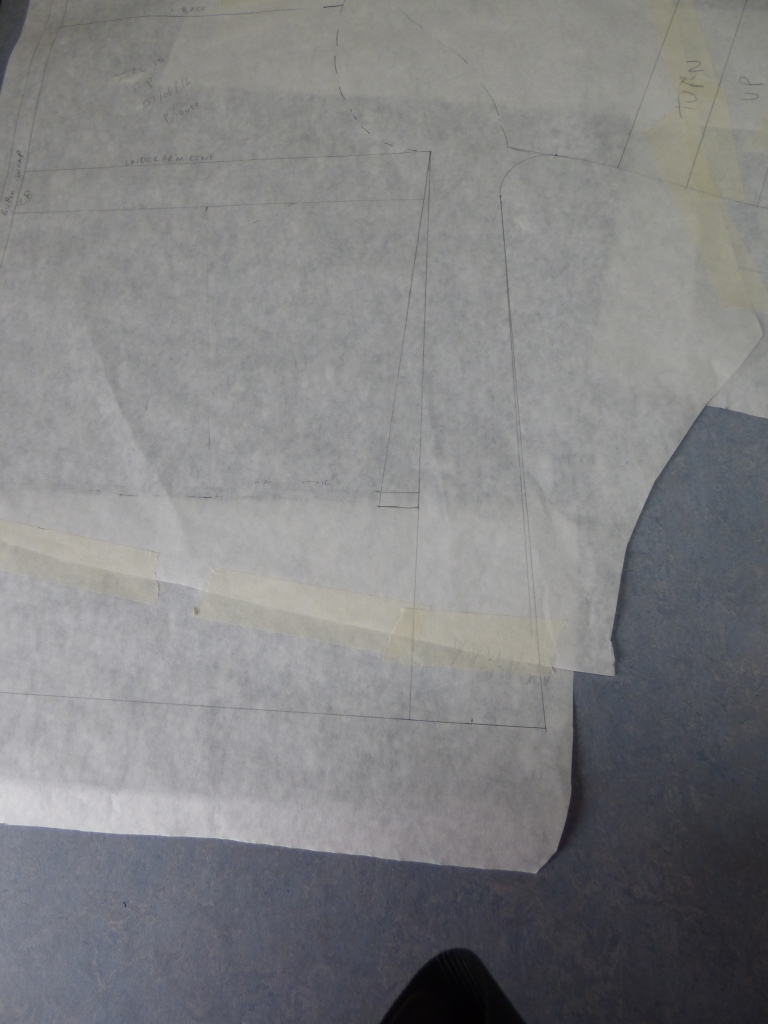
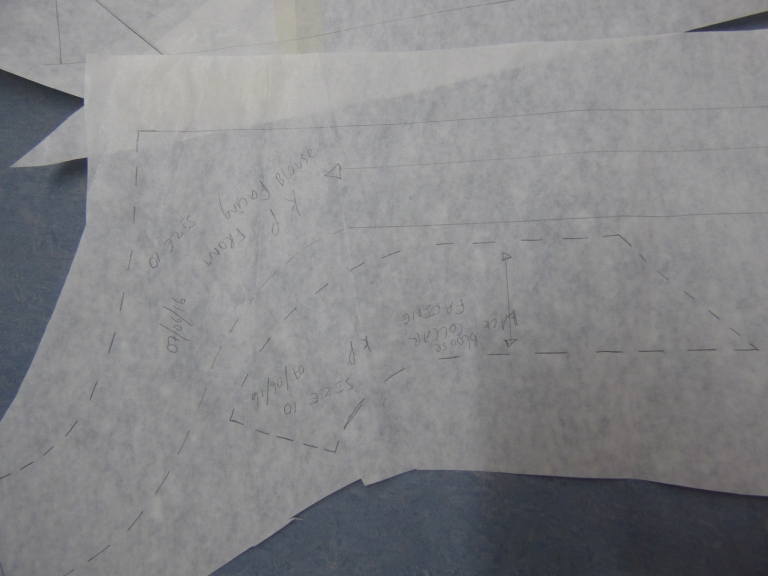
The second part to finishing the drafting of the kimono blouse is drafting the facing pieces on the pattern.
The first facing piece is on the front bodice, a 5 cm line is drawn around the collar and down the front of the bodice.
This becomes the centre from facing piece and the collar facing, it is separate and will be attached to the front later.
The next piece of facing is a similar 5 cm around the collar of the back piece.
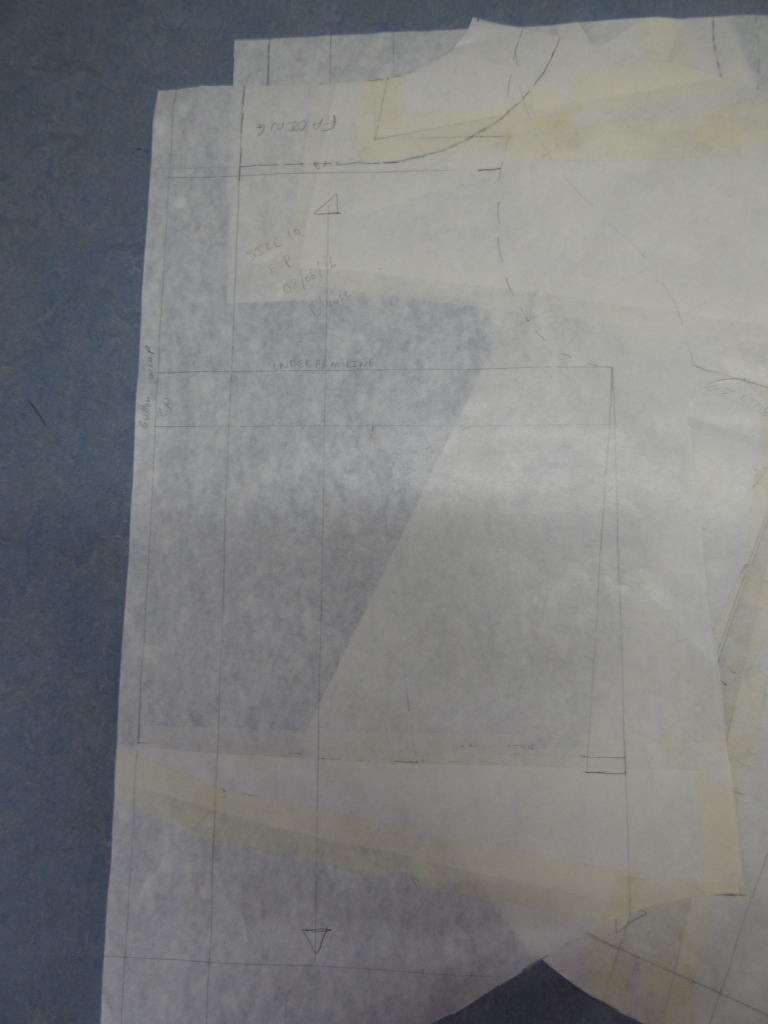
As a different type of facing, we added a grown on facing to the centre back of the pattern, this is simply a 5 cm (or how ever large you want the facing to be) drawn parallel to the centre back, grown on facing only really work along straight lines.
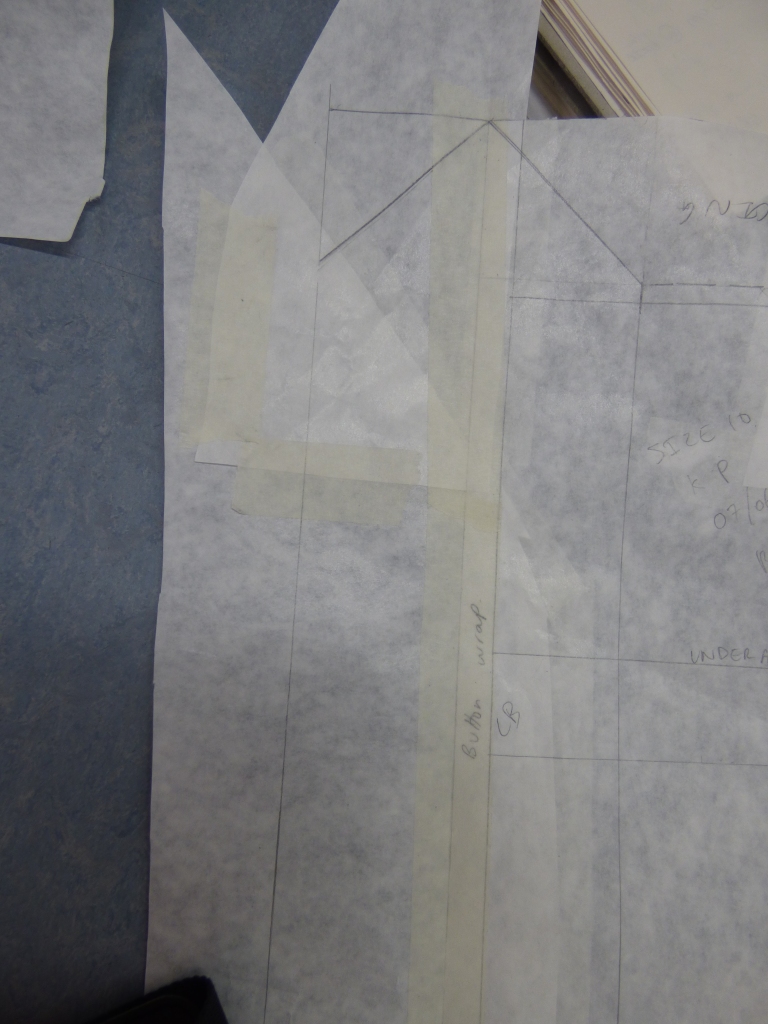
At the top you see a diagonal line between the collar an the facing, this is how the two will be attached when the blouse is cut out and in to construction.
The final step is to draft of the blouse pattern and the facing pieces and cut out in fabric and interfacing.
